AI Films · AI family films
How to turn your child into a cartoon with AI
By Ekaterina Danberg · November 2026
Choose a few clear photos, turn them into an approved character sheet in the style you want, build the story and world around that sheet, then generate short shots and edit them with sound. You can do it at home. The photos will leave your hands, though, so decide about privacy first, and treat likeness as something to test.
I've made cartoons and fairy tales around real children, including Halloween Adventures, The Tooth Fairy and The Little Mermaid, and a 2:47 film called The Golden Ticket. What follows is how those were built, with the failures left in. I won't name any child I've worked with, and I'd ask you to keep the same care with your own.
Before you upload anything
A photo of your child going into an AI tool goes to a company's servers, and you can't personally check what happens to it afterward. So go through this first. It's general information and not legal advice.
- US law won't make this decision for you. The FTC's COPPA FAQ says the rule covers information collected online from children and lists an adult uploading photos of children on a general audience site as a case it doesn't trigger. As the parent, you're the safeguard.
- Check the training settings. On personal ChatGPT accounts, sharing data to improve the models is on by default, and it can be switched off under Data controls. Do that before the first upload. Other tools have their own settings, or none.
- Count the companies. Image tool, video tool, voice tool and any reseller in between each have their own terms. A cheap photo-to-cartoon app with no clear owner gets no photos from me.
- Choose photos that say little. No school uniform, name tag, street sign or house number. Crop out other people, including other children. That helps the result too: on one project I cropped a mother out of the reference photos, because image tools mix the faces they're given.
- Ask whoever else has a say. The other parent, certainly. An older child too, I think, since it's their face.
- Decide where it will live. A private file for the family is the safest place. Posting is a separate decision: TikTok's AI content page says it doesn't allow AI content containing the likeness of people under 18.
If a film is made for you, ask which services will see the photos. Making the film and showing it publicly are two different permissions, and a producer who wants it for a portfolio should ask separately and in writing.
The process
1. Pick the photos
For The Golden Ticket the child's character sheet came from four photos. Aim for a clear face from the front, a three-quarter angle, soft even light and an expression that looks like them. If there's a detail your family would miss, such as a gap in the teeth or the way one eyebrow sits, photograph it.
2. Settle the style on one frame
Test the style on a single image before anything else. Your style reference should go in first, with the photo treated as notes on who this is. Camera language pulls the result back toward reality: on one project a line about an 85mm lens produced a straight photograph instead of the doll style we'd asked for. The opposite failure is the generic face. A strong style will happily give you its stock character with your child's hair. For one client, four popular animation looks went in the bin before we landed on a classic hand-drawn style, and only then could we work on the face.
3. Make the character sheet
A character sheet shows one character on a white background from the front, the side and full length. Everything later copies from it, so this is the stage to be picky. Put it next to a photo at the same scale. For one client the whole likeness depended on eye shape, because cartoon styles default to big round eyes and hers were long and narrow. Find your child's equivalent. Image tools are careful around children and may refuse a request. I take that as normal and don't try to argue with the filter.
Start each character in a new chat. In an old one, faces from earlier photos leak into the new drawing.
4. Build the other characters to look different
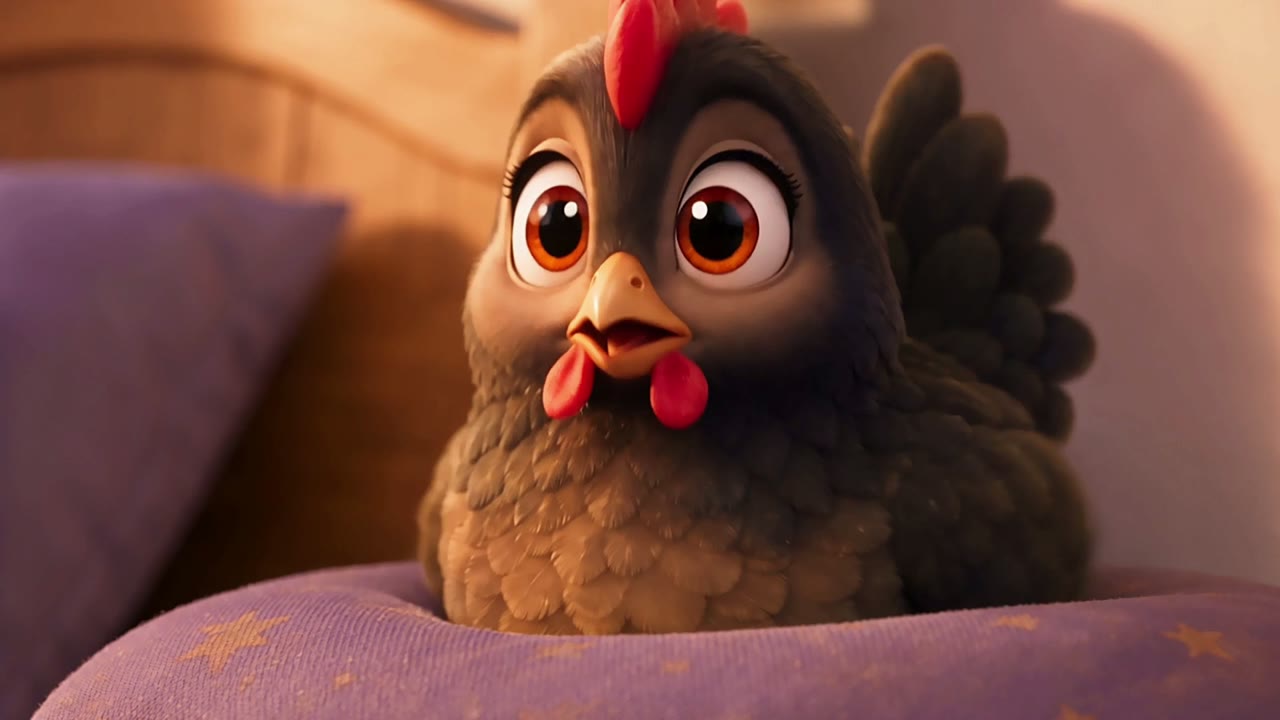
A generator tends to hand your child's face to whoever else is in the frame. For The Tooth Fairy I made the fairy the opposite of the girl on purpose: honey-red hair in a bun, green-hazel eyes, a heart-shaped face and freckles. In The Golden Ticket, Santa and the elf were designed from text alone.
5. Write something small and specific
A short film can hold one event. The Tooth Fairy is a tooth under a pillow and a coin left in its place. Decide what could frighten a small child and leave it out. Our fairy's pouch holds two teeth, because a handful of children's teeth is unsettling once you picture it.
Plan four or five shots for each 15 seconds, and give every character something to do in every moment. A character with no action stands there like a figurine.
6. Write a continuity table
List what changes with the story and what stays fixed: pajamas, hair, the toy on the bed, the window, the clock. Then check each image against it, zoomed in. A clock that changes between two frames is the sort of thing a parent spots on the third viewing.
7. Fix the first frames as stills
Size has to be drawn into the picture. Writing a height in centimeters did nothing for me: the fairy kept coming out mouse-sized until the frame itself was composed with room for her at the right size. Correct the still until it's right, and edit an approved picture instead of generating a new one, since a fresh image will shift scale again.
8. Generate, then reject most of it
Watch each take for the face first, then the hands, then whether the action happened. Look for a child who looks alive. The Tooth Fairy was commissioned for a client's daughter, so her face had to be sharp and breathing in nearly every shot. Models also disobey. She was meant to sleep through the film and in one clip opens her eyes for about five seconds. I kept that one because her reaction felt natural, and that's a judgment you'll make often.
9. Edit it and give it sound
Much of the storytelling happens in the edit. The Tooth Fairy's 30 seconds came from four separate pieces. Music, narration and small sounds do a lot of the work of making separate clips feel like one place, and any generated voice should be checked for volume against everything around it, since mine came out far louder than the room.
What I can't promise
- That you'll recognize your child in every frame. A sheet can be very close and a moving shot can still drift. The test is whether the family sees them in the finished film.
- That the picture will look perfect. Hands, small objects and fast movement still go wrong.
- That your child will love it, or won't find seeing themselves strange. Watch it first yourself and decide.
- That a photo is gone from a service once you've deleted it. That depends on the service, and I can't verify it from outside.
Doing it yourself or asking someone
A single short clip of your child as a cartoon is a reasonable home project if you're comfortable with the privacy list above. A story with several characters and a consistent face takes a lot of takes and a good deal of patience, and that's where you may want help. If so, have a look at The Golden Ticket and tell me about your child and what you have in mind.